 |
Reporting Services for SQL Server 2005
|
|
| By Prayad Dumas |
|
| |
|
| |
|
| Reporting Services is a data reporting program which comes included with SQL Server 2005. Reporting Services is another option, if Crystal Reports is unavailable or not cost effective. When you install SQL Server - Reporting Services comes with Five free user licenses. So if you are already using SQL Server for a client - you have an alternative to Crystal Reports for reports generation. This first lesson will entail starting Reporting Services and getting it to attach to the database, writing a simple query in which we will get data from the database and getting accustomed to the Design View to format our data. All this is necessary before you start with the Design Layout for Reporting Services. |
|
| |
|
Once Again - Before we begin, we have to do some groundwork.
1. Which means defining our data sources.
2. Defining the querys and finally
3. Formatting the results for the user.
For this exercise I have created a database named ds999. It is about the Star Trek Universe. |
|
| |
|
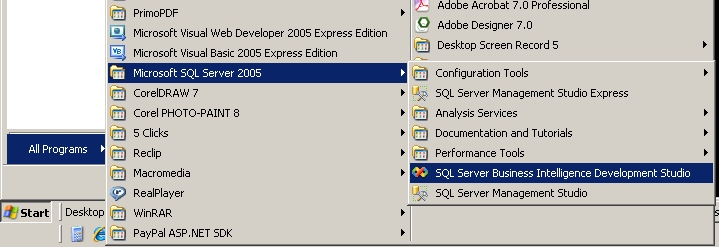
| Begin click - START / Microsoft SQL Server 2005 / SQL Server Business Intelligence Development Studio ( See Below) |
|
Reporting Services
Figure 1 |
 |
|
| |
|
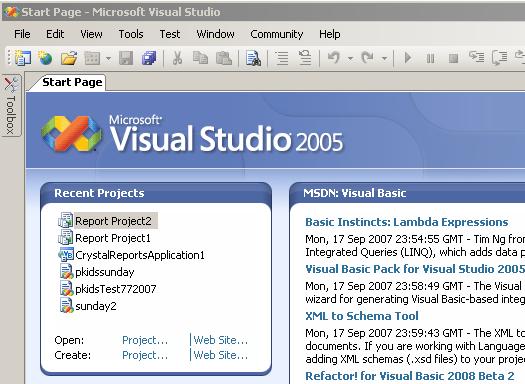
| For me, SQL Server Business Intelligence Development Studio opens Visual Studio 2005. Go Figure because Visual Studio host Report Designer, which is the application within Reporting Services. Report Designer is like a Wizard which allows you to select the data source, build your query, layout your report, preview and publish the report. We will be in Report Designer alot. |
|
| |
|
|
Reporting Services
Figure 2 - SQL Server Business Intelligence Development Studio opens Visual Studio 2005 |
 |
|
| |
|
| |
|
|
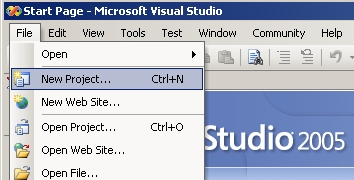
| Now to start Reporting Services by going to File / New Project ... ( See Figure 3 ) |
Reporting Services
Figure 3 - File/ New Project... |
 |
|
| |
|
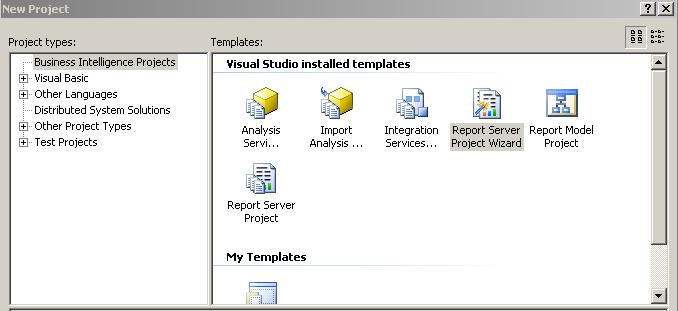
| In the next window - Make sure you have Business Intelligence Projects selected on the Left. Then select Report Server Project Wizard. Also note here is where you will get Report Server Project and the other installed templates. But for now select Report Server Project Wizard. Of course Name your report and select a location you want the project saved to. |
|
Reporting Services
Figure 4 - Report Server Project Wizard |
 |
|
| |
|
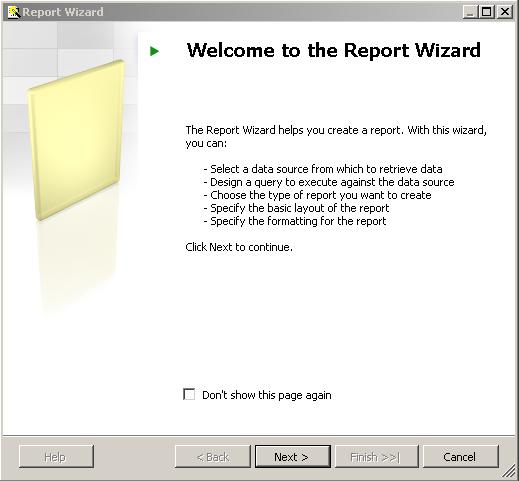
| If this is your first time and you have not deselected Don't show this page again you will get the Welcome to the Report Wizard Welcome Screen. Click Next. |
|
Reporting Services
Figure 5 - Welcome Screen |
 |
|
| |
|
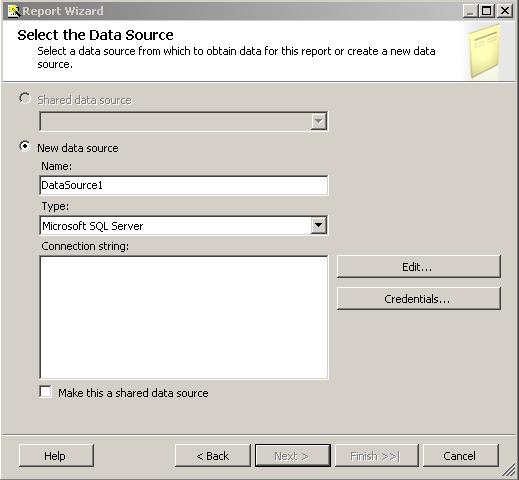
The next screen is where we will select the data source. Which is part of the groundwork from above. For review, we have to do the groundwork.
1. Which means defining our data sources.
2. Defining the querys and finally
3. Formatting the results for the user.
|
|
| |
|
|
Reporting Services
Figure 6 - Select the Data Source |
 |
|
| |
|
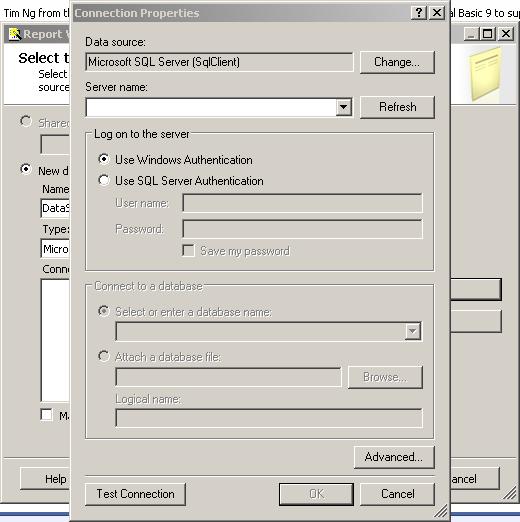
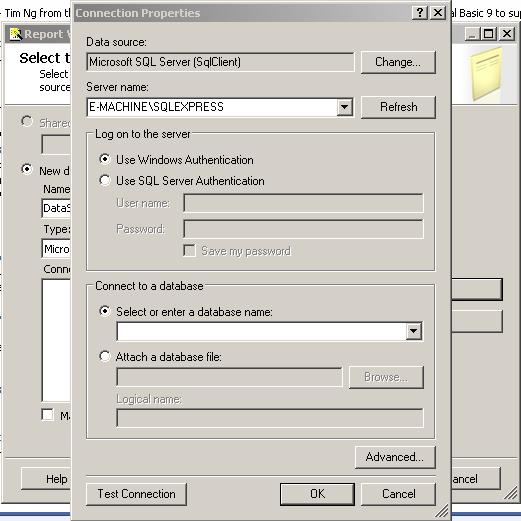
| Go ahead and click on the Edit... button the next screen is where we will put in the Server name and other Options such as -Windows Authentication. |
|
| |
|
Reporting Services
Figure 7 - Put your Server Name in here. |
 |
|
| |
|
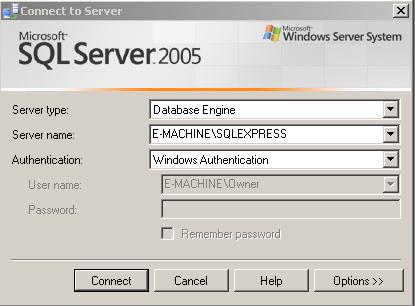
| Now how do we find the server name? Easy way is to open your version of SQL Server - The Server name is listed as shown below. |
|
Reporting Services
Figure 8 - How to find your server name: Open SQL Server. |
 |
|
| |
|
| Copy and Paste the Server name, in my case E-MACHINE\SQLEXPRESS into the correct field. |
|
Reporting Services
Figure 9 - Server Name |
 |
|
| |
|
| Use the drop down menu in the Connect to a database to select your database you want to report on. In my case it will be ds999 - my Star Trek Universe database remember? |
|
Reporting Services
Figure 10 - Connect to the database. |
 |
|
| |
|
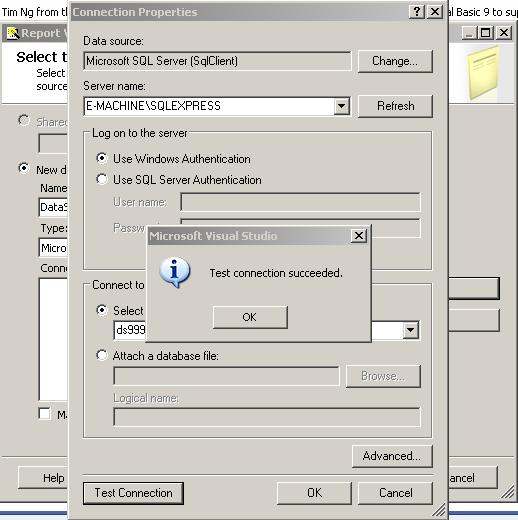
| Click on the Test Connection - ensure that Test Connection Succeeded box pops up - before you move forward. If this box does not appear there is something wrong with your connection - usually you did not copy/paste the correct server name, you tried to type it in yourself. Double Check. |
|
Reporting Services
Figure 11 - Test the connection. |
 |
|
| |
|
|
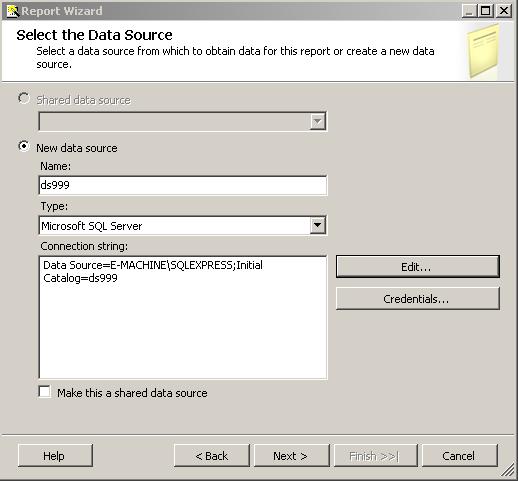
| If you have gotten this far without problems - believe me, you are doing good and all your connections from your network to your SQL Servers are working correctly- which is a feat within itself. The next screen will just show the results of your labor. Notice that the connection string has been filled in for you. If you move the application to another computer or the server moves make sure to update the connection string - think of it like this, if you move or rename a picture you placed on your web site to another folder - you would have to update the location/name of the picture. The same concept applies to SQL connection strings and SQL names. |
Reporting Services
Figure 12 - Result of successful connection is the connection string. |
 |
|
| |
|
|
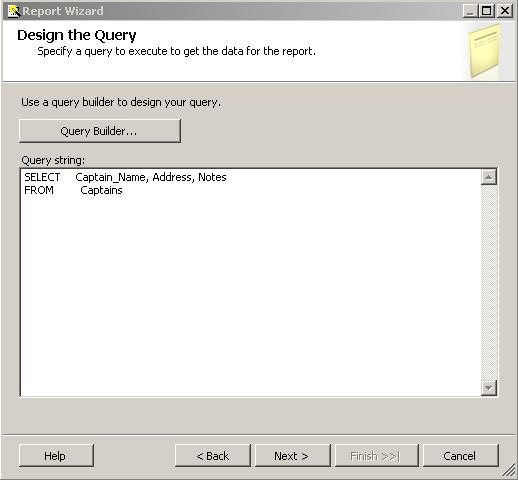
| Select next will bring you to the Design the Query window. This is where you will place your SQL Query to get the information from your tables. This is not a tutorial on the SQL Language. For a lesson on SQL you can click here to the article sql-database-table-design by Granville Stewart. Granville Stewart - Author of Article-sql-database-table-design - is an IT professional in Las Vegas and is a contributor to LVITweb.com |
Reporting Services
Figure 13 - Use SQL to design query. |
 |
|
| |
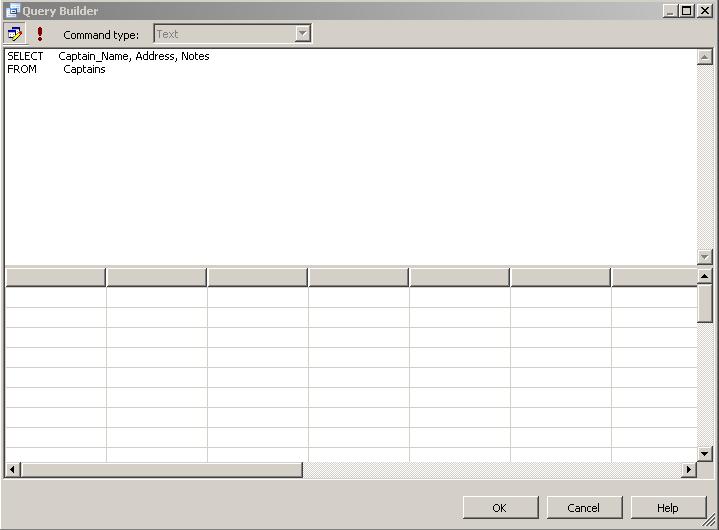
| If you need help building the SQL - you can use the Query Builder... Selecting on that button above will take you to the screen below. |
| |
 |
|
| |
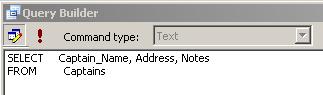
| Well this is not much help you say? Now click on the picture of the pencil and two windows on the top left. |
| |
 |
|
| |
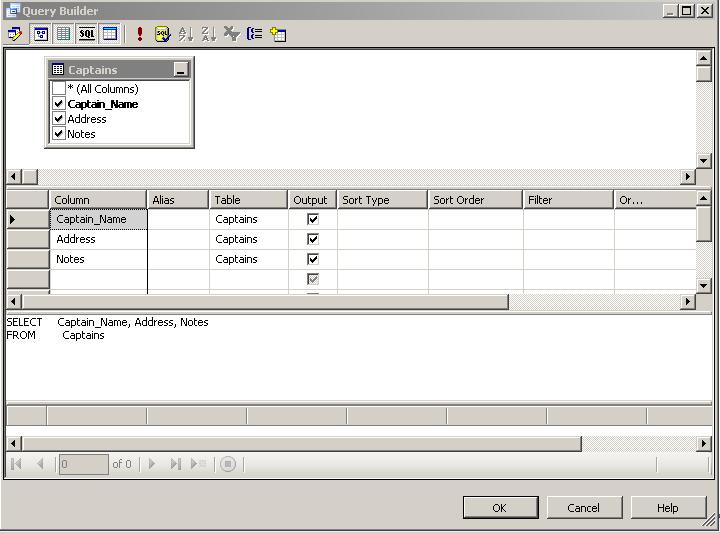
| Which will take you to this helpful Graphical Interface which should help you out. Simply check on the fields you want to be included in your Query and the Query Builder will write the SQL for you. |
| |
 |
|
| |
| Click OK - when you are satisfied - then next |
| |
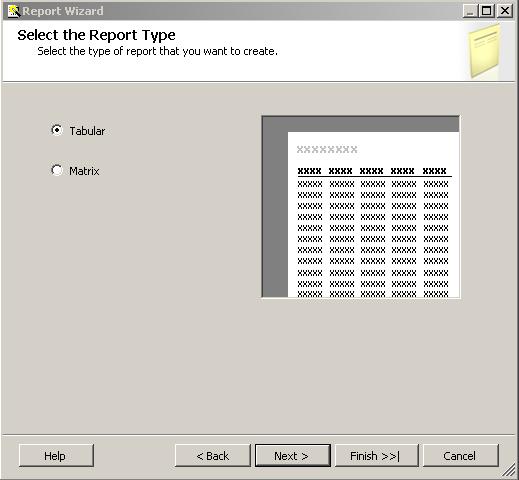
The next screen is the Select the Report Type- this is where we format the data, which is self explanatory. In fact the rest of the screens from here are self explanatory which deals with what types of reports you want and the formatting.
Believe me, if you gotten this far then the rest of the screens are down hill and do not need explanations from me on formatting the data, which was the Last of our three ground works.. |
|
| |
 |
|
| |
|
|
| |
Go through the rest of the Wizard and select finish.
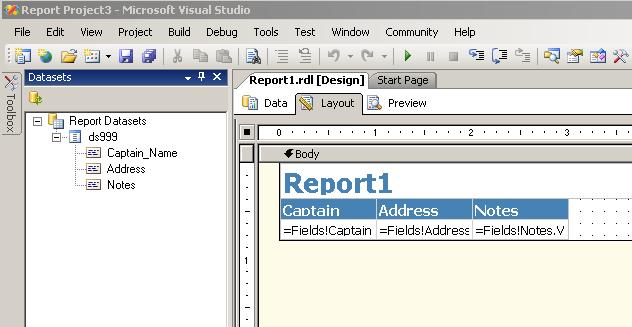
In my next lesson we will go through the Body of the Report Services. But you have learned in this lesson to start Reporting Services and getting it to attach to the database, write a simple query in which we will get data from the database and getting accustomed to the Design View to format our data. You now have the basics. Play around and come back soon for part two of the lesson where we go into the Body of Report 1 and figure out what all those =Fields! mean.( Below) |
|
| |
 |
|
| |
|
|
| |
|
|
| |
| Prayad Dumas Author of Reporting Services for SQL Server 2005 is an IT professional in Las Vegas and is a contributor to LVITweb.com Reporting Services is a data reporting program which comes included with SQL Server 2005. Reporting Services is another option, if Crystal Reports is unavailable or not cost effective. When you install SQL Server - Reporting Services comes with Five free user licenses. So if you are already using SQL Server for a client - you have an alternative to Crystal Reports for reports generation. Based in Las Vegas, Nevada, LVIT gives you a team of IT professionals offering a broad range of computer-related services to an even broader range of clients from Casinos to the small offices environment, we also make house calls, if you find yourself in need of technology HELP we will find a way to serve your needs. With over 20 years of computer software & hardware experience, we can help you solve all your computer problems. One call will save you hours of worrying. |
| . |
| |
|
|
|